Suikkassuaq Base Hike

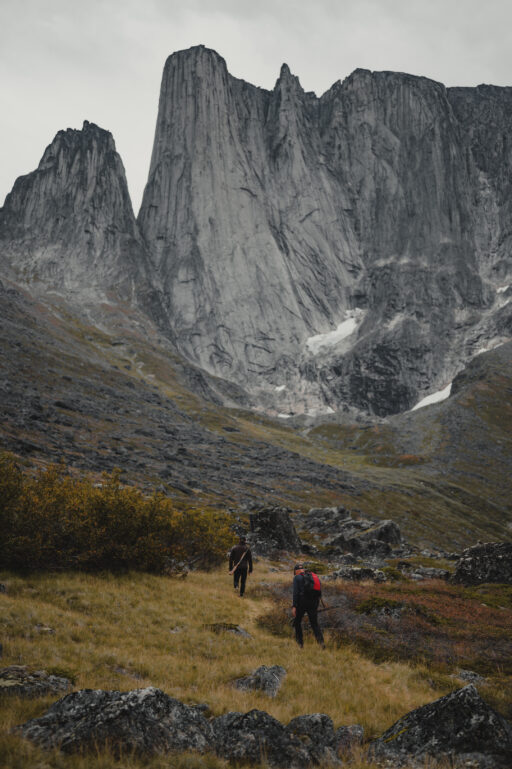
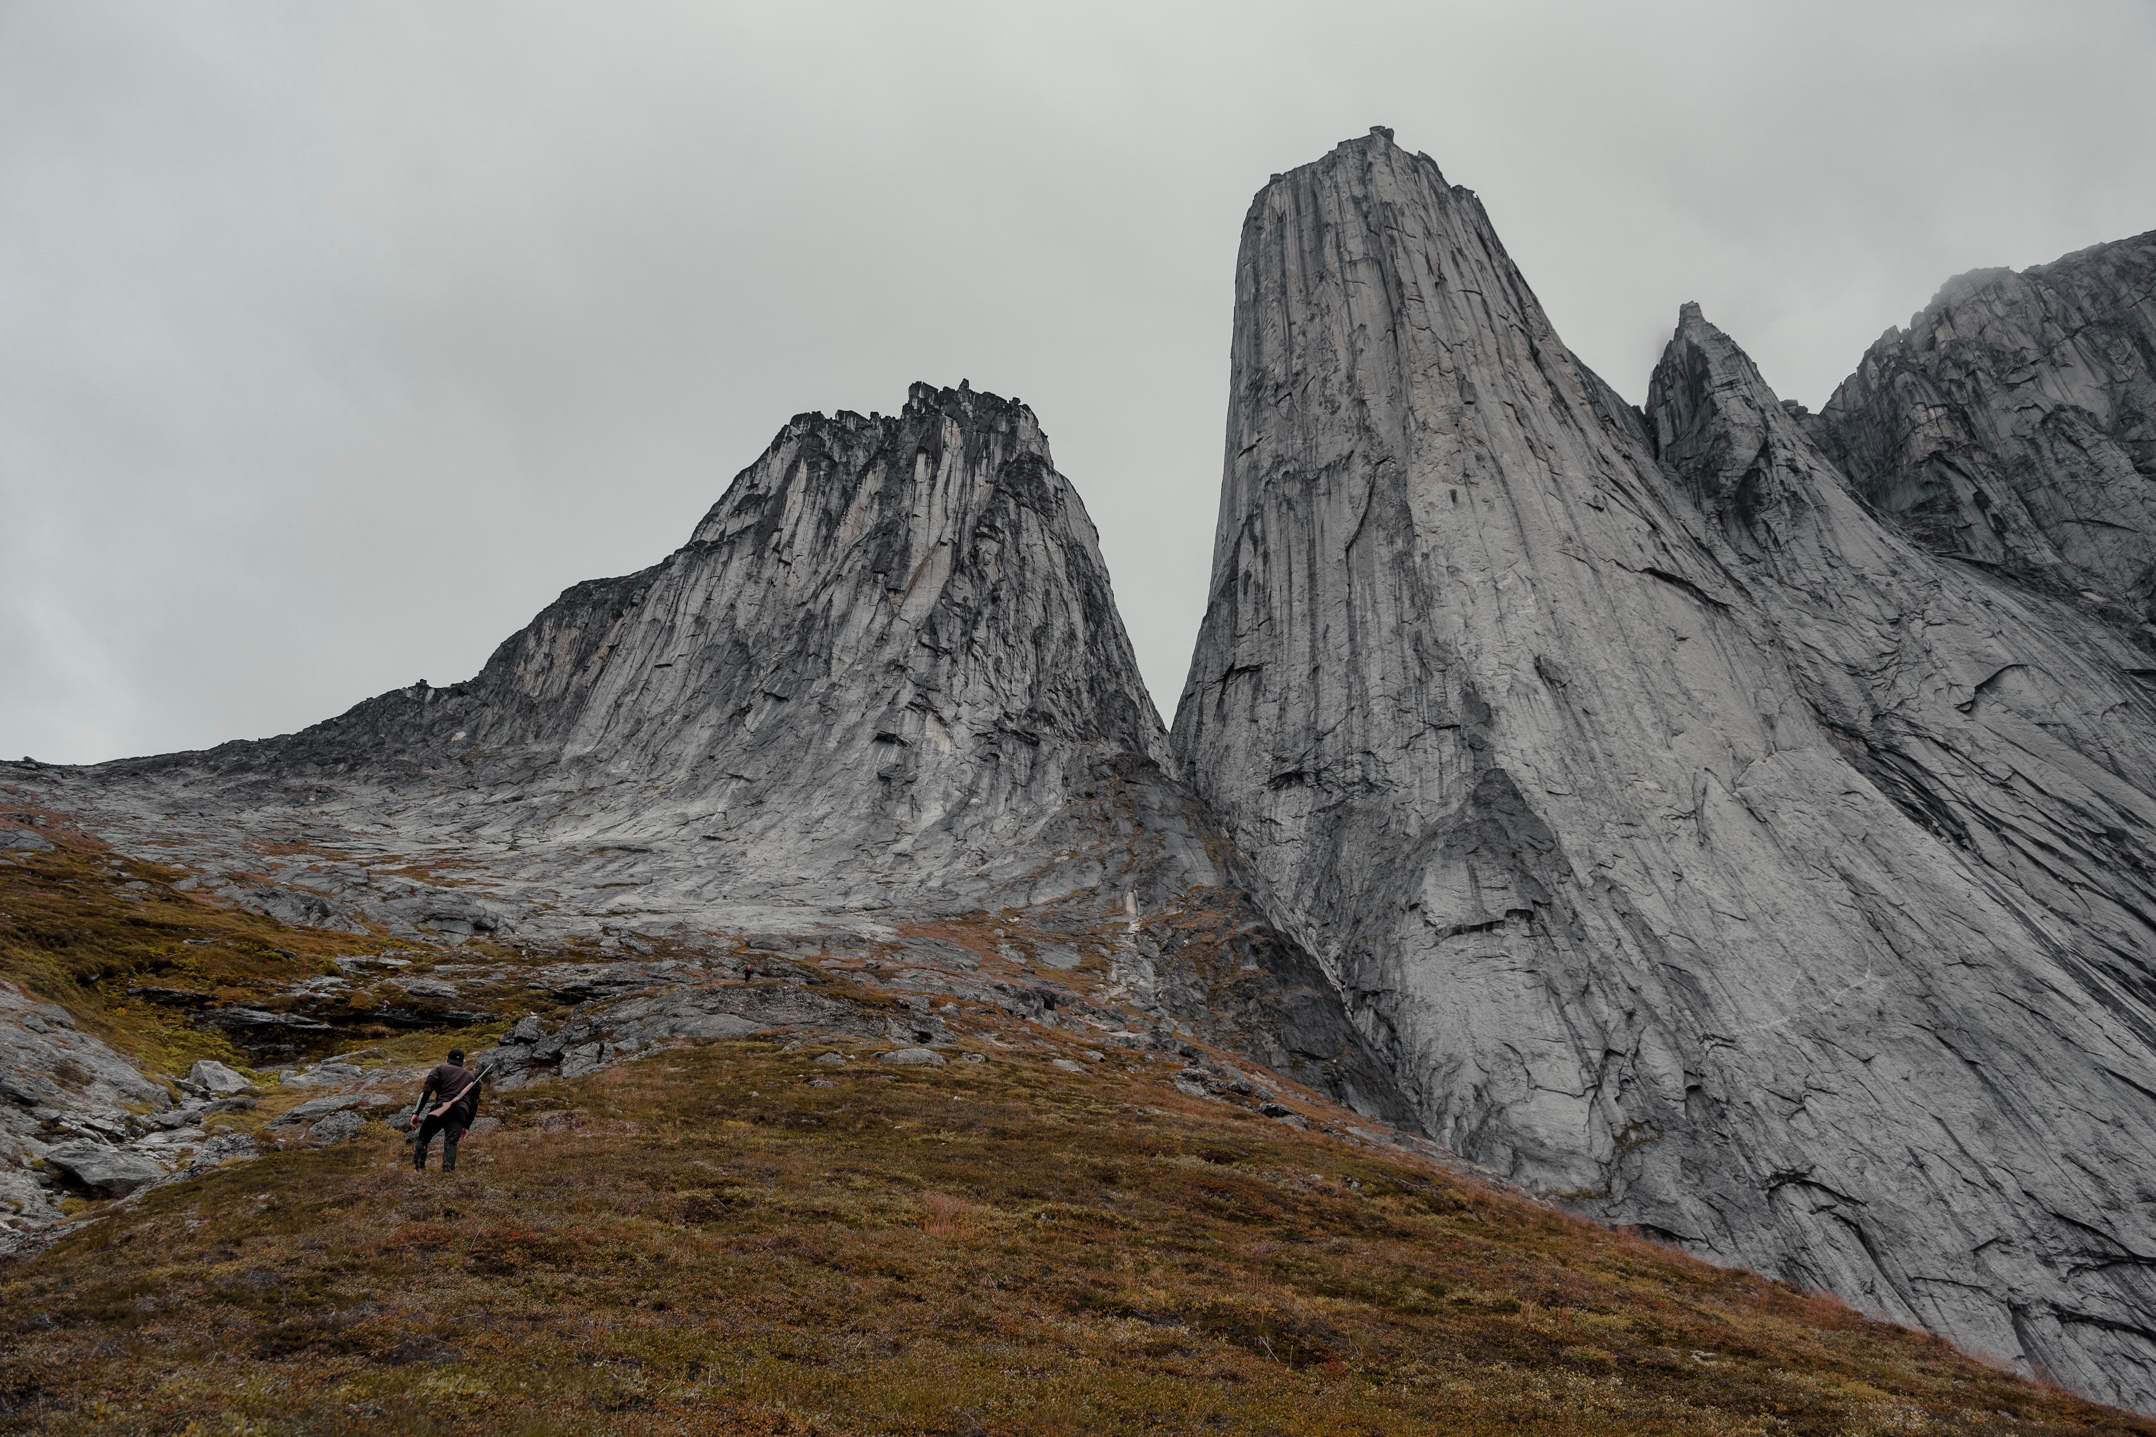
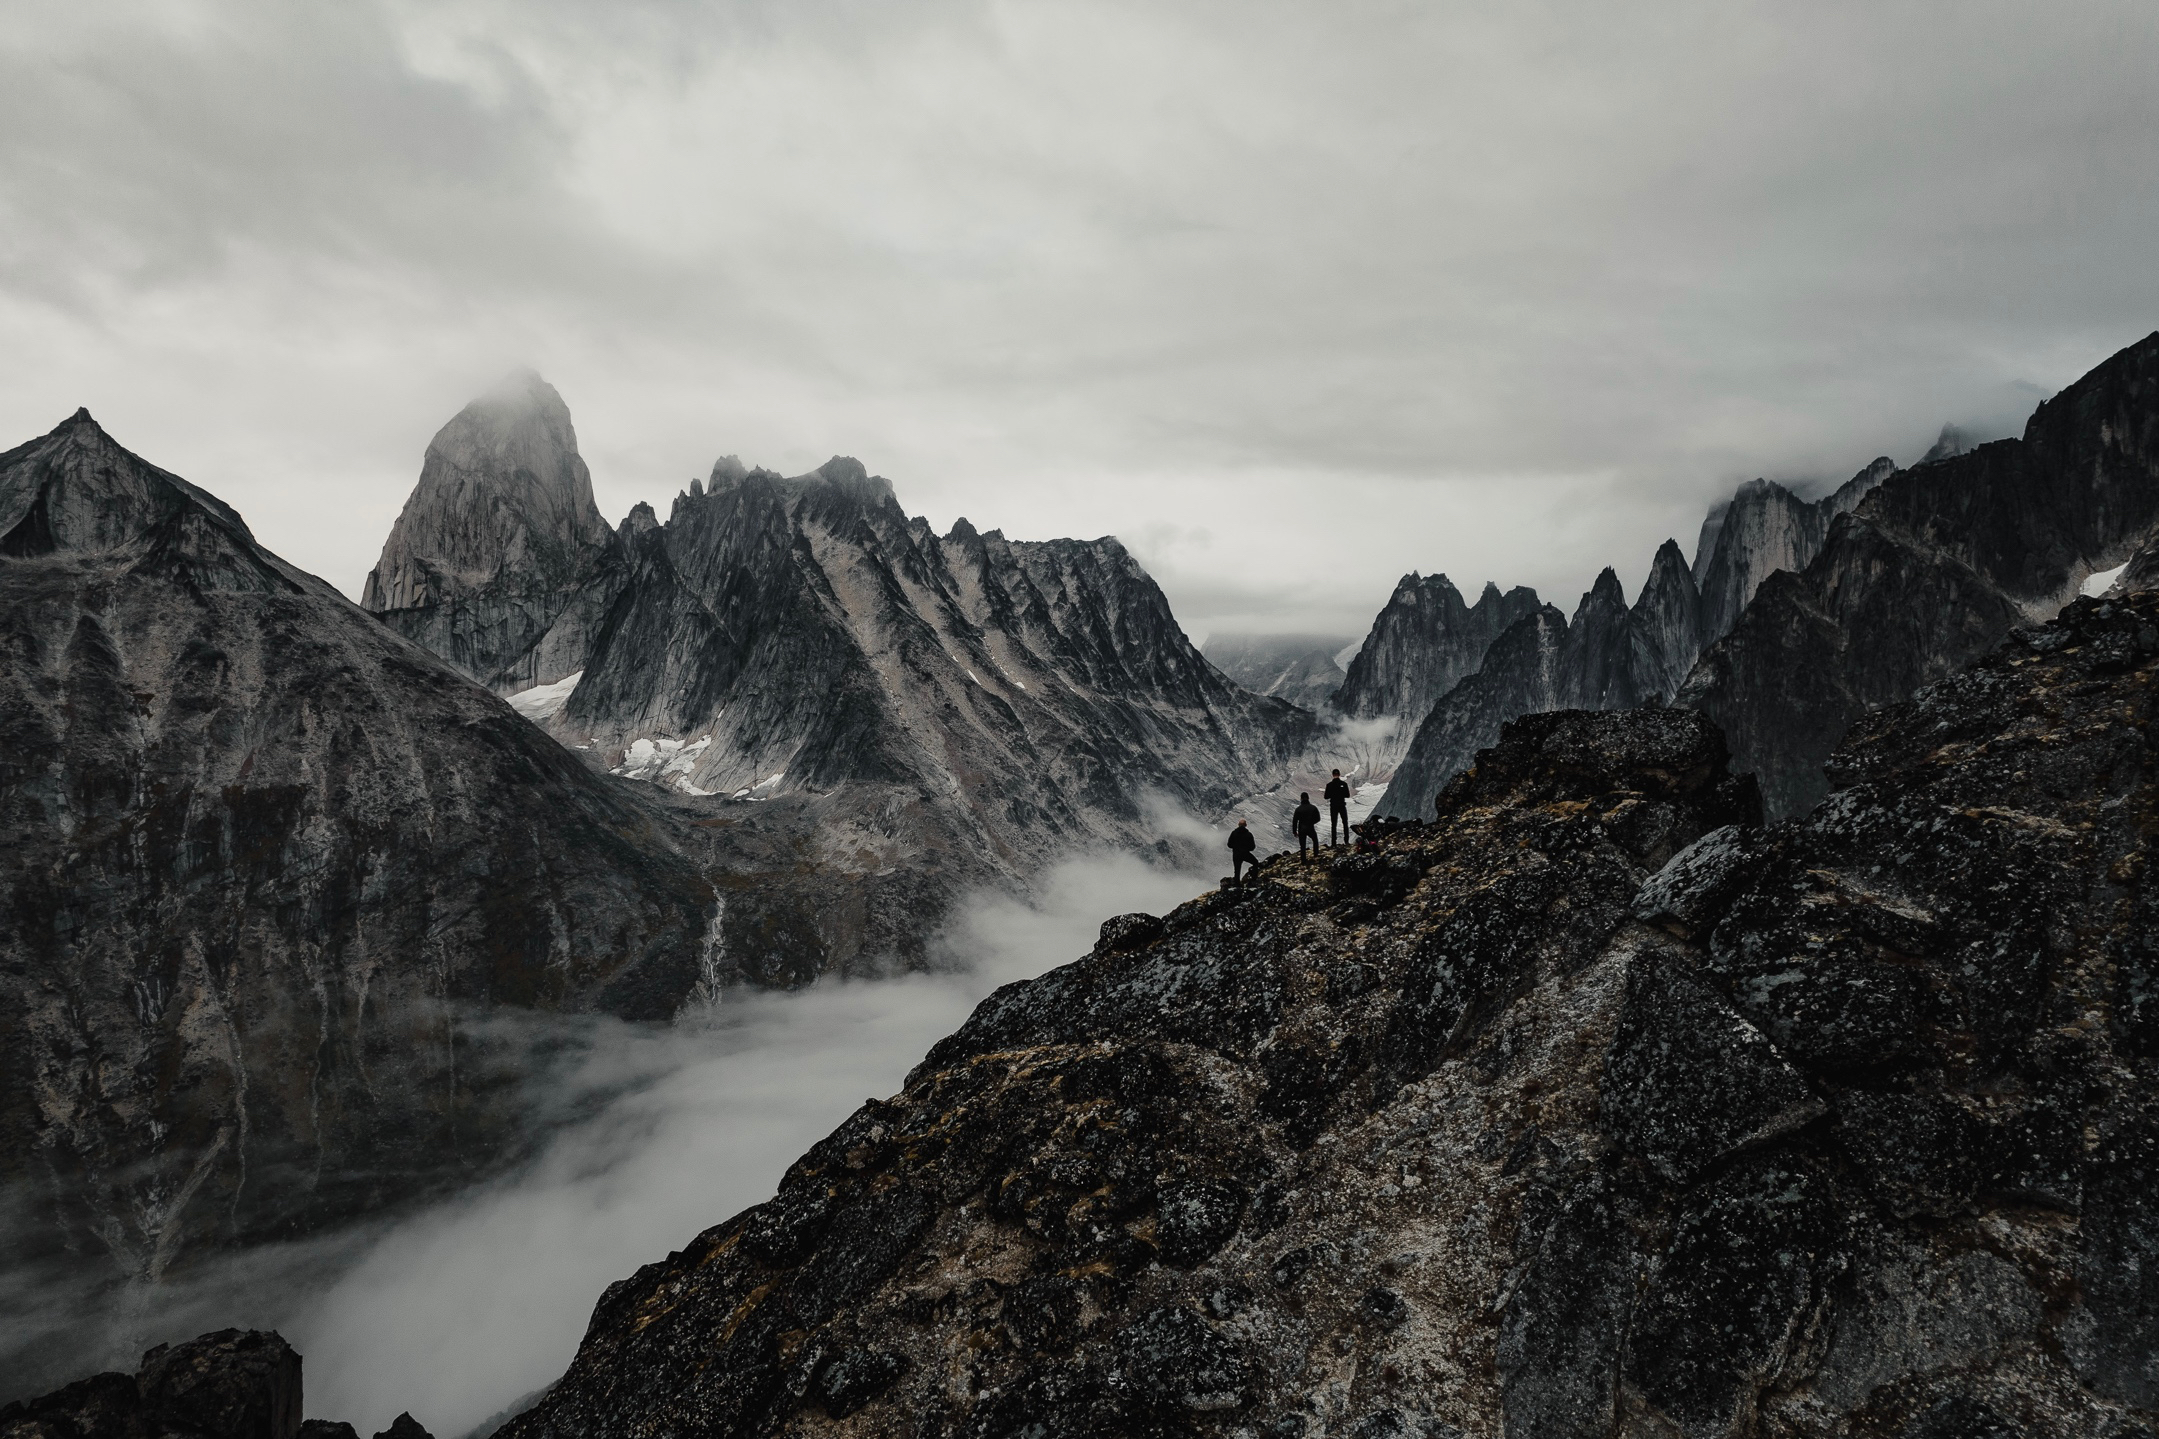
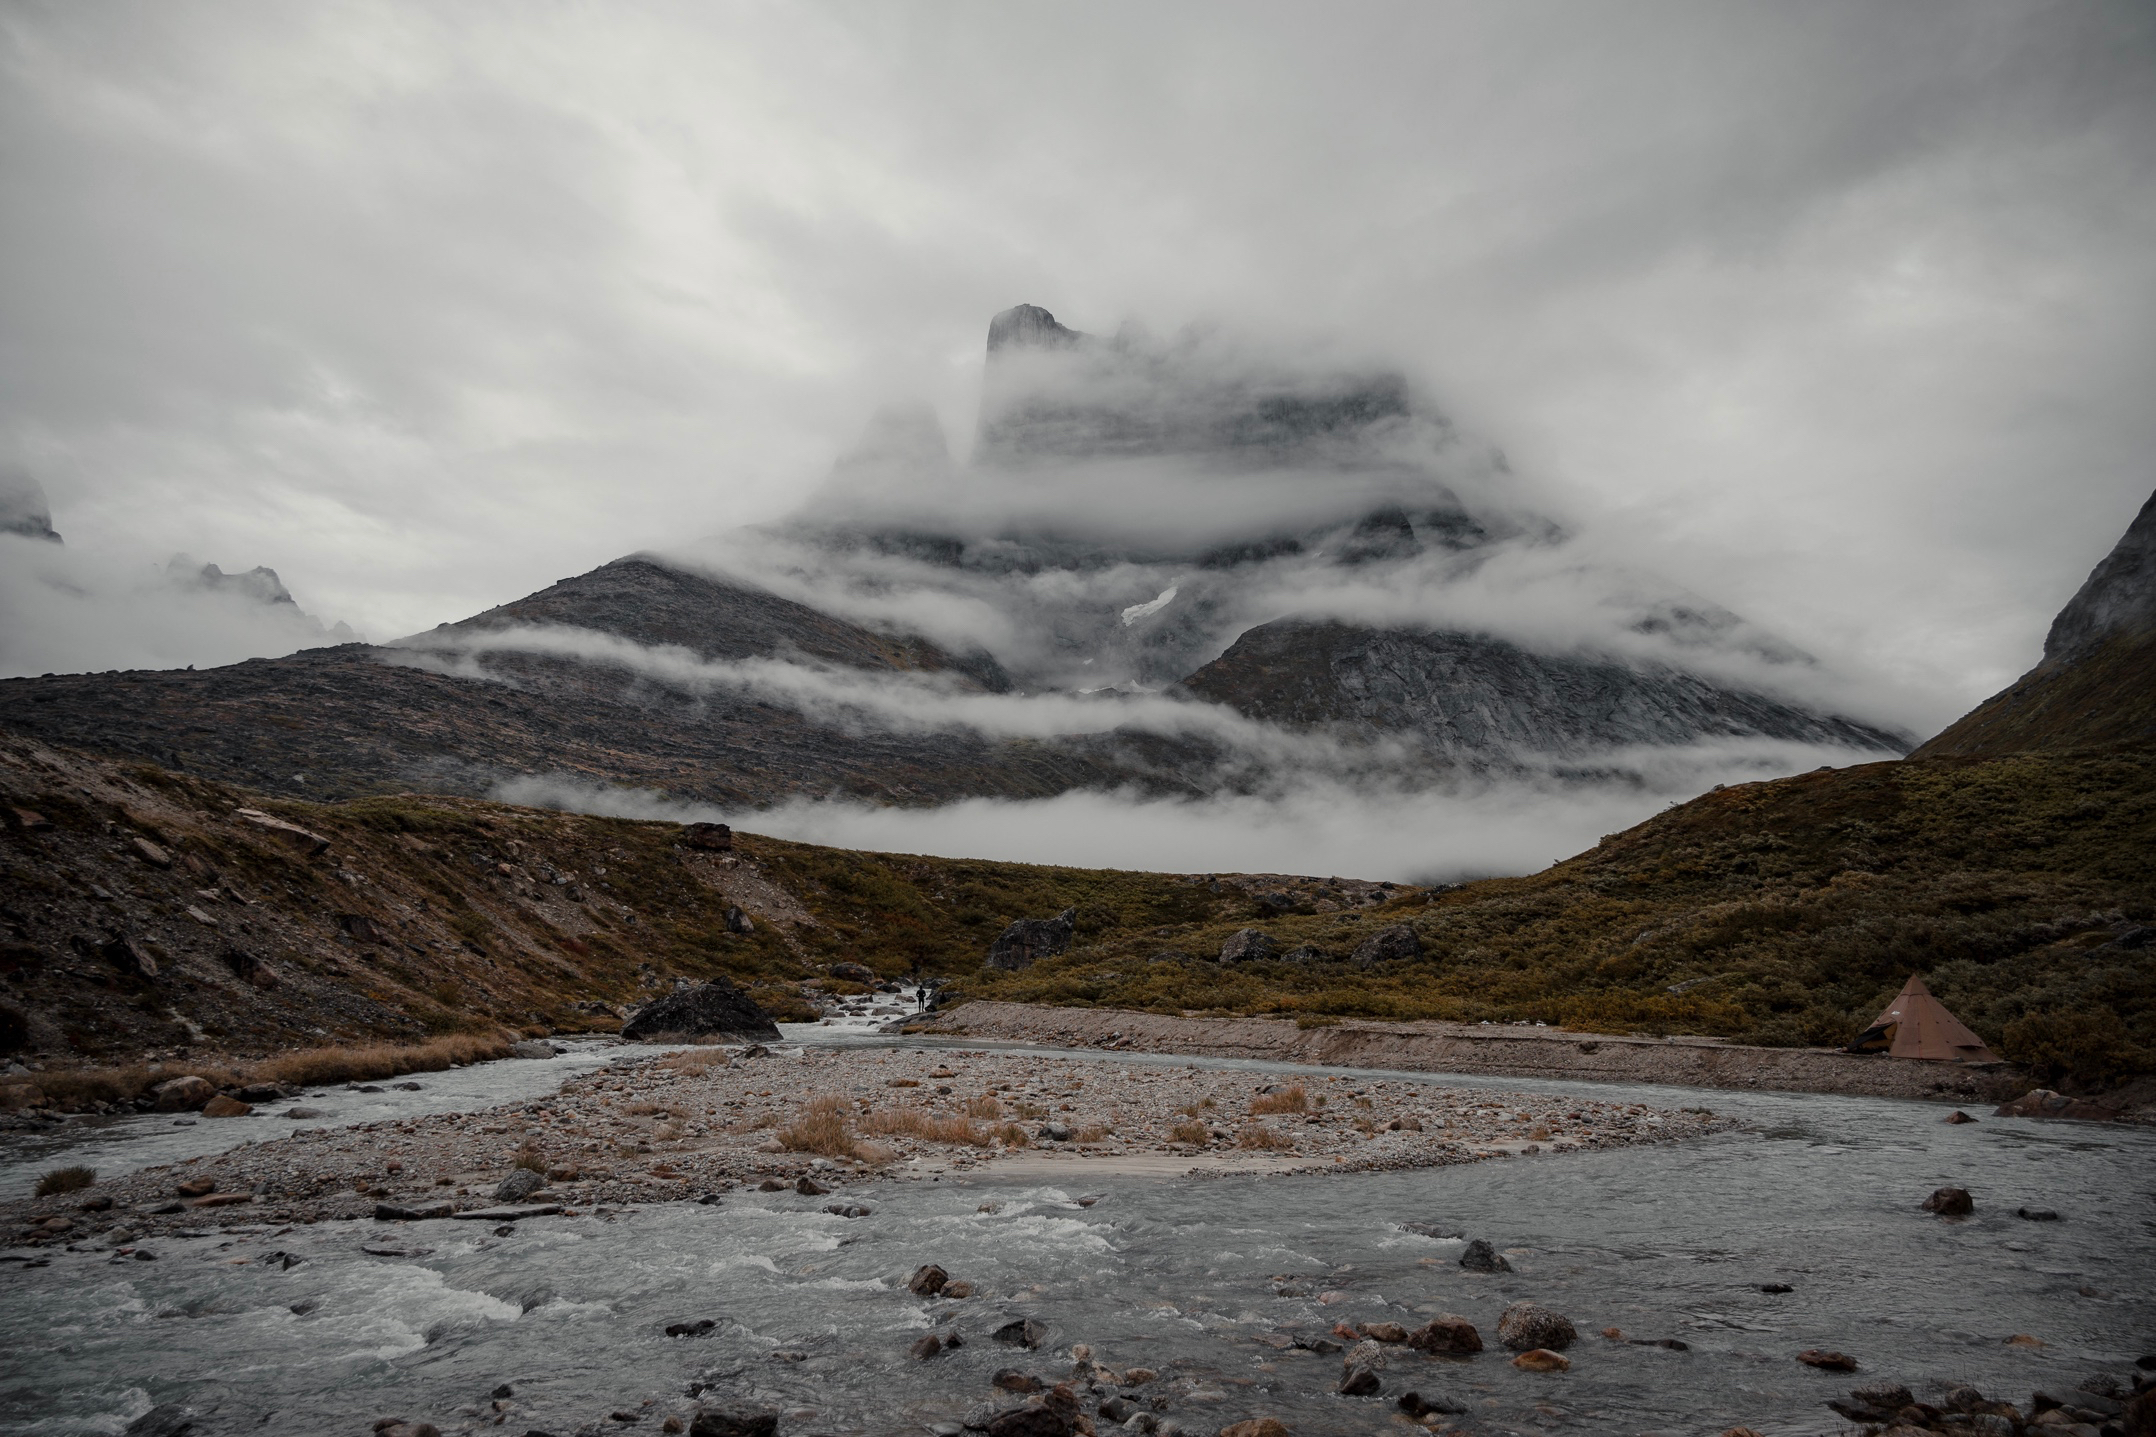
Highlights: Suikkassuaq, granite mountains, valley views, peaks, glaciers

Distance: 
About 9 kilometers for the base and ridge

Time: 
6-8 hours hike for the base and ridge

Difficulty: 
Moderate to the base. Strenous to the ridge

Elevation: 
1000 m to the ridge of Suikkassuaq

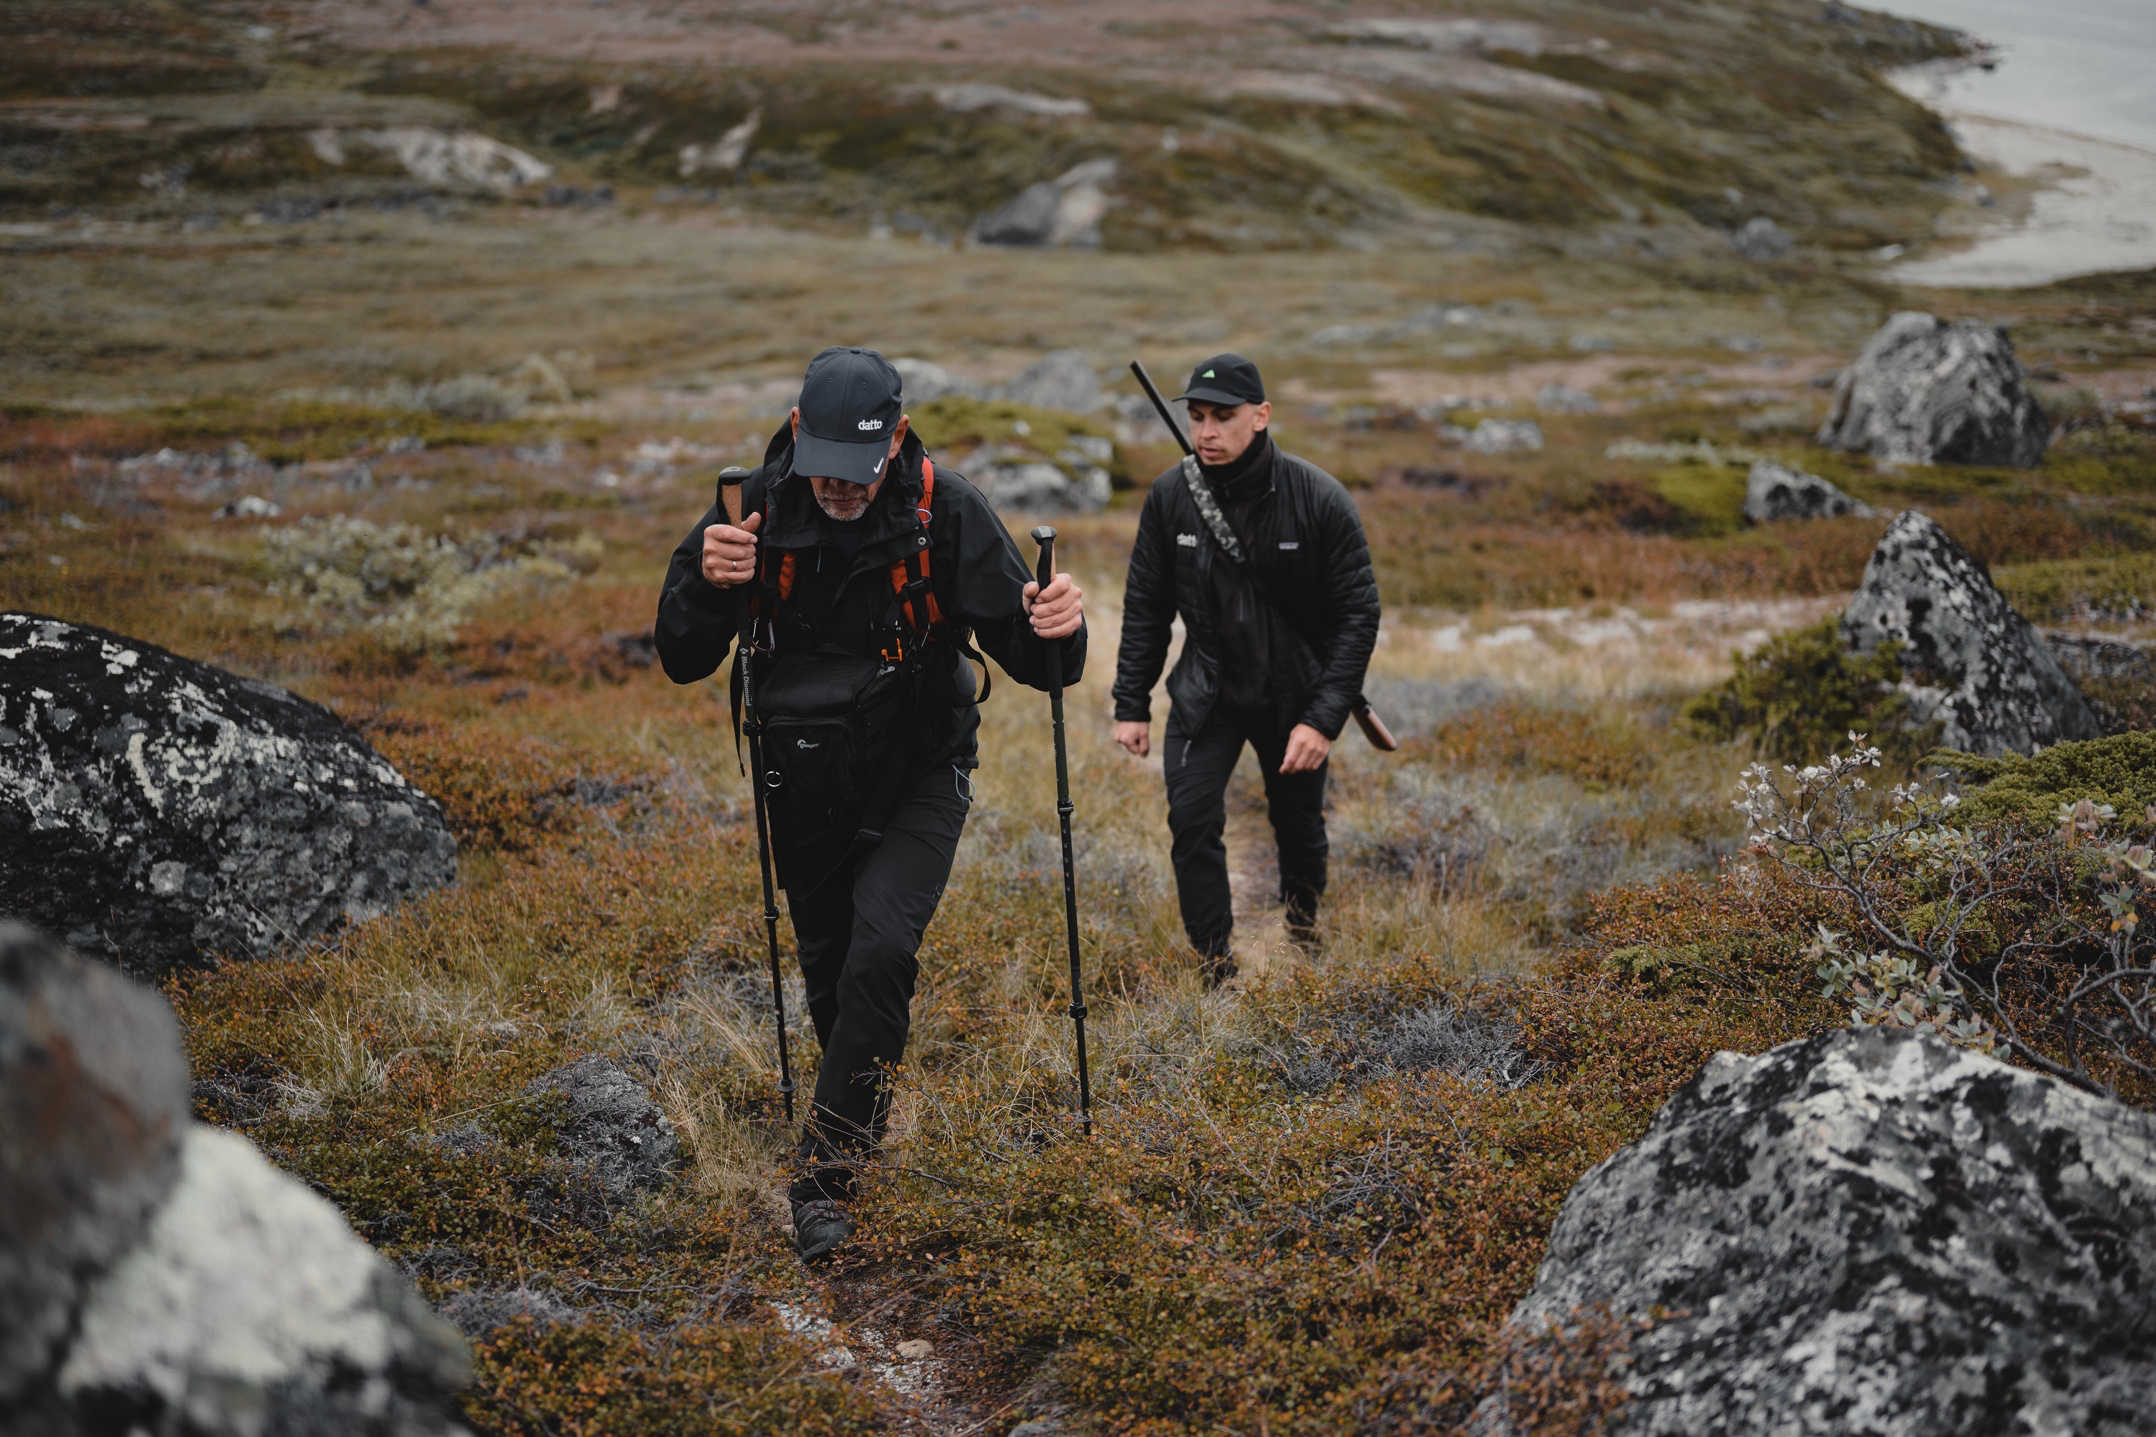
Trail quality: 
Partly beaten all the way to the base. Off-trail to the ridge


Photo by Lasse Gunnersen
Contrary to popular belief, this big wall, which is one of the most iconic mountains in Tasermiut Fjord, is called Suikkassuaq. Suikkassuaq is 1854 meters tall at its highest peak, and we recommend hiking to the base of the mountain where you can look up the 1000 vertical granite wall rising straight out of the landscape in front of your eyes. You simultaneously get a great view of the entire Tasermiut Fjord.

For those daredevils out there, after you reach the base you can continue up to the top of the ridge and get that tingling feeling in your stomach when looking down a vertical drop into the valley north to Suikkassuaq. It is a strenuous hike up on the ridge, but the views are worth the effort.

Trail Description
Start the trail at the river north of the mountain (or at the river closest to the mountain on which this description is based).

The trail up to the base is uneven and with a partly beaten track. The terrain consists of large rocks, shrubs and small bushes.

From the coast on the northern side of the river you start by walking up the sandy slope where you will find a plateau. After that you look up and aim for the part of the peak which looks like a pillar, and you will quickly find a small, partly-beaten track that you can follow to the base of the mountain.

Keep your eyes out for small wildlife like ptarmigans and arctic hares which are often seen the closer you get to the base of the mountain.
After hiking to the base of the mountain, and if your energy depots are not depleted, it is possible to hike to the top of the ridge leading to the northern smaller peak of the mountain. From the ridge it is possible to get great views of the valley and peaks north to the mountain.
Photo by Lasse Gunnersen
Since it is too steep to hike up the ridge closest to the base of the mountain, you have to backtrack and go back the way you came until you reach the little stream you crossed just before getting to the base. When you are at the stream, follow it up the mountain side as far as you can. Find your own path for the last bit to the top.

There is no track leading up to the ridge, which is why the hike will be off-trail and quite steep. You will definitely feel your heart pumping and take breaks often to drink water and catch your breath underway. You are in for a treat when you reach the top – the views are amazing!

Once you have enjoyed the views to your hearts content, follow the ridge down to the starting point, again off-trail.
Get this route

Suikkassuaq Base Hike
Photo by Lasse Gunnersen
Campsite
There are great campsite options either at the river north of Suikkassuaq or at the river closest to Suikkassuaq.
On the northern side of the river closest to Suikkassuaq, there is a big flat plateau if you walk up the sandy slope from the coast. This is the recommended camp site, as long as there is no wind predicted, as this campsite is more exposed to wind. And it is more difficult to find firewood.
If there is wind predicted, a campsite at the flat gravelly area on the southern side of the river closest to Suikkassuaq is recommended for more shelter. There are big bushes where you can easily find shelter from the wind. However, from this campsite, you have to cross the river before starting the hiking trail, and if there is a lot of meltwater from the alpine glaciers (for example, at the start of the summer months), it can be quite difficult due to deep water and quick current.

You can cross at low ‘tide’ where there are more shallow places, but then of course you have to wait for the right timing before crossing back to camp later, or you will end up swimming across it. For more information about tides, please see HERE. 
Campsite on southern side of the river
Photos by Lasse Gunnersen

Recommended Gear

Good quality, tried & true hiking boots and wool socks

A well-fitting hiking backpack sufficient to carry all gear; waterproof backpack cover

Trekking poles if carrying a heavy backpack or if you tend to have knee problems when hiking

Shelter system of good quality incl. tent, sleeping bag and sleeping pad

Cooking gear based on your preferences.

Optionally extra shoes/sandals for river crossings

Clothing suited to the weather & season

Wool underlayers, wool sweater, water-proof outerwear

A hydration system and food supplies with extra to spare

Tools for navigation depending on personal preference

Camera

First aid kit, headlamp, handheld VHF and satellite messenger

Flare gun for wildlife safety

Safety First

We always recommend first and foremost to use local certified tour companies and guides when out in the nature for hiking holidays, camping trips and other outdoor adventures. These are the people with the local knowledge and 'sixth sense' about our backcountry and wild nature, not to mention first responder certifications (in many cases) and bear safety protocols.

If, however, you will be going out into the backcountry alone, we would like to offer a few key guidelines for those camping on their own without a local guide.

Leave no trace.
Take every single piece of trash you create back with you, and burn all toilet paper instead of stuffing it in the nature.

Inform someone of where you are headed and how long you plan to be away.
Follow up with that person to confirm you have reached your destination.

Do not camp on (or walk on) farmers' bright green grass fields.

Carry and turn on a VHF radio, if you will be within sight of a fjord or the sea.
If you will be deep in a valley, carry a satellite phone.

Protect yourself in the unlikely yet unwanted situation of a bear encounter.
We always say that one must be prepared for what can happen, instead of what is likely to happen.
Take flares (sold at local shops), and have easy access to any loud noise makers, like your cooking pots. 
Read more about wildlife encounters.

How to get here

Once in South Greenland, take a helicopter flight or boat transfer to Nanortalik.
The helicopter flights are 20-30 minutes long.
The boat rides are anywhere from 2 to 4 hours long.
See more here about how to arrive to South Greenland.

From Nanortalik, switch to a local boat company to take you into the fjord and set you (and your hiking guide,
if applicable) off at the coastline near Suikkassuaq.
See local operators below.

Local Operators ready to welcome you

Amazing Tours Greenland

Arctic Hiking

Guide in Greenland

NTS

Serano Boat Tours

South Greenland Boat Charter 44